
It may look the same but it now has magical force field powers!
Since the sink is back already, I kicked the counter rehab into high gear tonight. Everything is moving very quickly and I thought I'd share the process here for those of you who
The first step is the most tedious. One must tear up forty gazillion pieces of paper, crunch each piece hard into a ball, then smooth it back out again. A lot of the how-to articles on the web are for projects that use brown paper, but because I want to end up with gray counters that look as much like marble as I can pull off, I'm using white butcher paper and a charcoal gray stain.
As I pull the balled up paper apart, I separate the pieces into two piles: one contains pieces with all ragged edges and the other contains the pieces that came from the side of the roll of paper so they have a nice, clean, straight edges on one side. These will be used for the straight edges of things. Voila! No cutting.

This picture not only shows the uber-exciting process described above, but also provides a good shot of my faux butcher block Formica counter. Say goodbye to it.
The bonus on this project is that I already had the supplies left over from the bathroom floor project, so it feels like it's free.

Sorry about the horrible hue. Evening. Flash. Cell phone.
As you can see, I mix my brew in a container that I can cover and keep airtight overnight or when I take a break. At those times, I slip my foam brush into a zippy bag and that keeps it from drying and stiffening. The recipe for the brew is:
- 1 cup glue
- 1 cup water
- Approximately 2 tsp stain
Take a piece of rumpled-then-smoothed-out paper. Paint one side of it with the brew. Flip it over, stick it where you want it, then paint the top side with the brew. THAT'S ALL YOU DO!!!
To prep for this job, all I did was clean the counters with Windex. You want to remove any oily spots and all crumbly bits, as you don't want those getting under your paper.
I was concerned at first that I may have to pump the brakes and run a coat of primer over the counters. My test spot looked like the butcher block madness was going to show through.
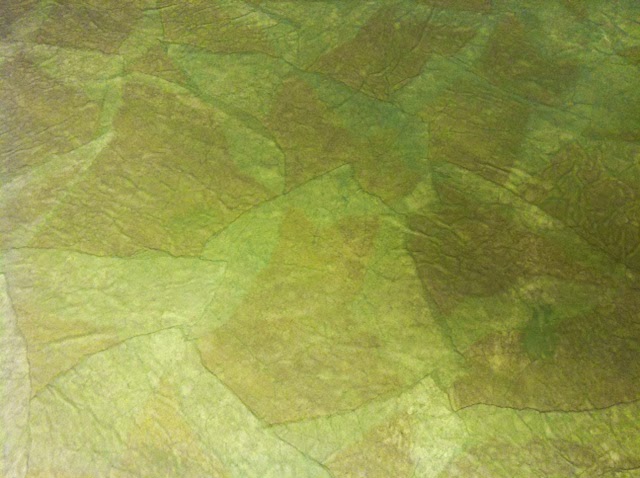
Why the heck are my pictures so crappy!? IRL this is not at all green.
But after drying, it's perfect.

I am so excited by how this is turning out!
By my estimation, I should be finished applying the paper by tomorrow night. I'll make a run to Home Despot on Saturday morning and bring home some poly-acrylic. I plan to apply at least 6 and maybe up to 10 coats. That'll take a day or so to dry and 2-3 weeks to fully cure so we'll have to be gentle with the counters until then. The payoff will be [nearly] free, hard-as-nails, completely new and ossum counters.
My hope is that people who see it will ask what kind of stone it is. Only you and I, Interwebz, will know the truth.


